Search This Blog

Sunday 21 August 2011

Macaron part 5 - Lychee and rose macarons

Yes, i am at it again!

This time i have tried the recipe from http://notsohumblepie.blogspot.com/2010/08/macaron-troubleshooting-new-recipe.html. which is as follows:

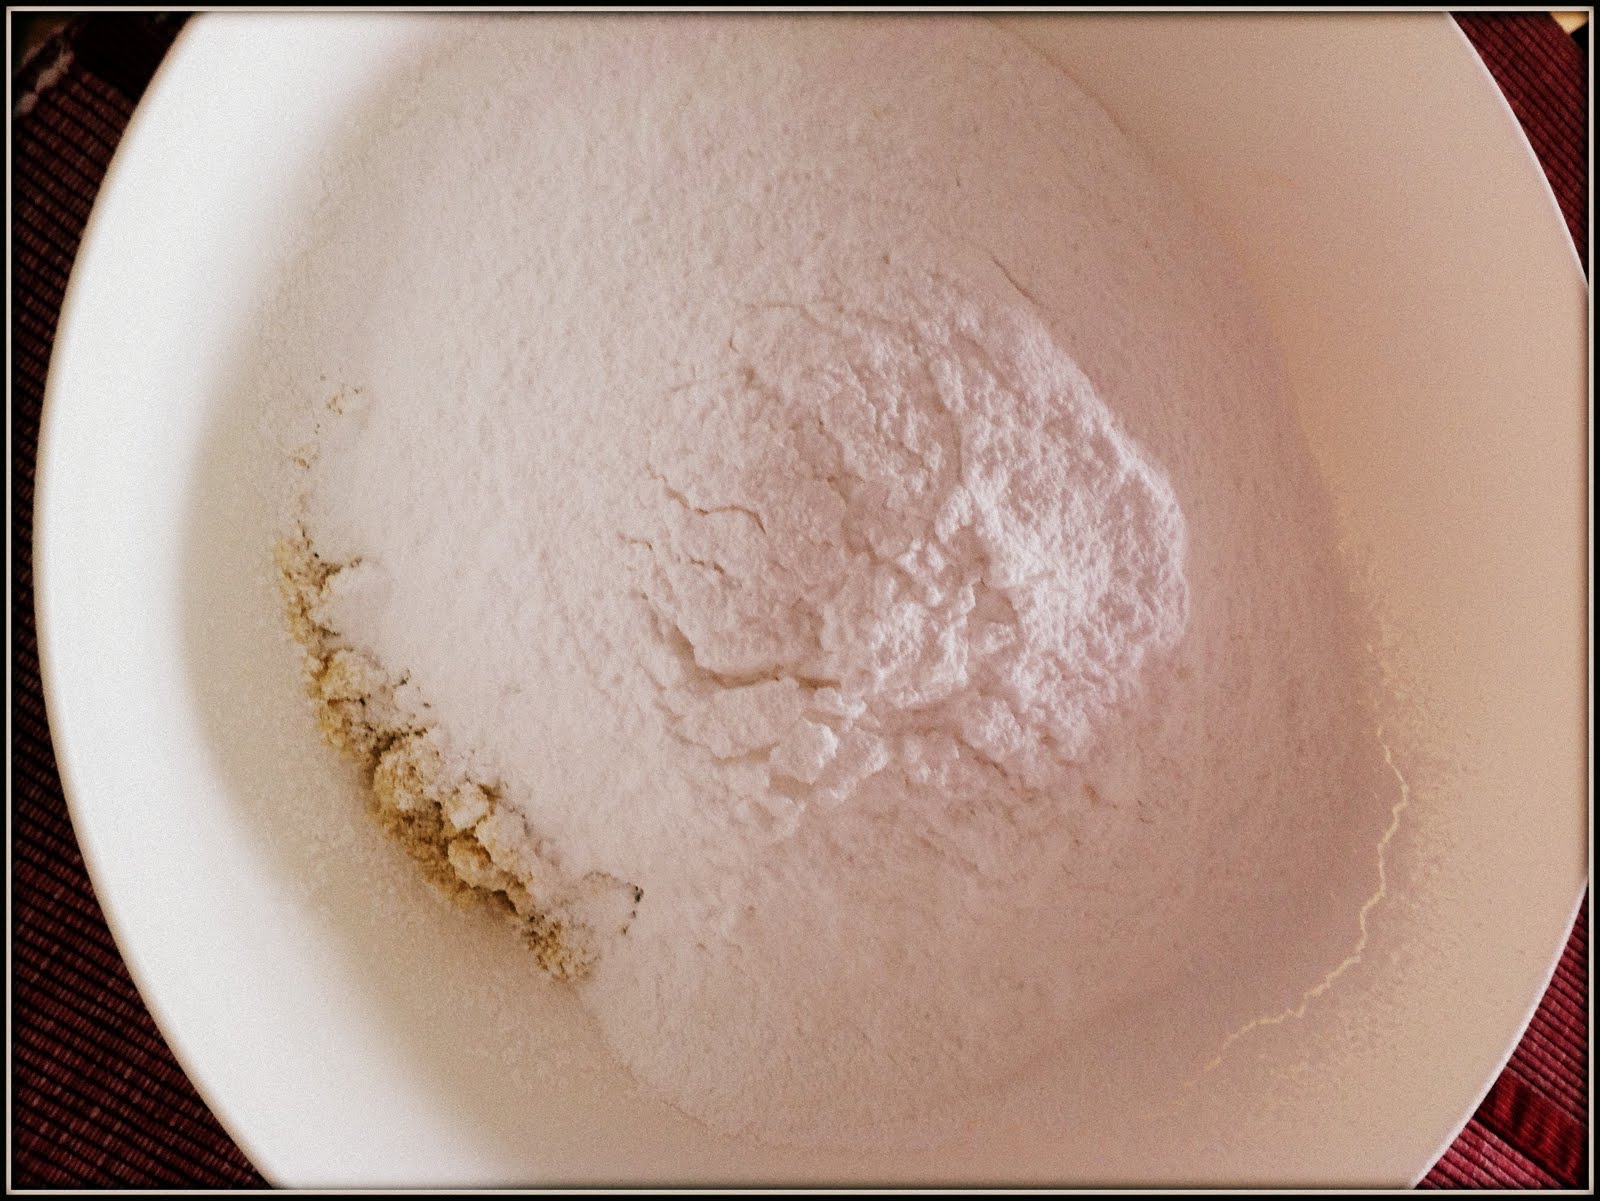
5g dehydrated egg whites
28granulated sugar
225g icing sugar (sifted)
125g ground almond (sifted)
100g egg whites

The main difference between this recipe and the one i use normally (besides measurements) is that this recipe uses dehydrated egg whites.  I bought mine from Sainsbury's.


So off i went..

1. Use a fork to mix the egg white powder and granulated sugar till thoroughly mixed through.
2. Sift the icing sugar and ground almond in the same bowl.

3. Beat the egg whites till frothy and add in the egg white powder and granulated sugar mixture slowly. Beat till stiff peaks form.


4(a) This is how the stiff meringue mixture should look like.
4(b) Mix the ground almond and icing into the meringue mixture and start folding.
4(c) I read you should aim to approximate about 50-60 folds, so far i personally feel its a good guide) You will get a smooth mixture.
4(d) The mixture is ready once you have a "thick ribbon/lava" consistency.


5. If you want to add in colouring (i usually use gel based colourings as it is not too liquid), best to split the mixture into several bowls (depending on how many colours you are intending to have) during the 40th fold i.e. before it looks like 4(c) above. The continuous folding will ensure colour is mixed thoroughly, and not over mixed.

5(a) When i made my batch of pinks, i added in the gel based colouring into the meringue mixture (just because i was just making one colour). Plus its obviously easier to get the colour thoroughly mixed in.


6. Once the mixture reaches the right consistency (ala 4(d)), fill up your piping bag and start piping!


If you want to decorate it with shimmer, this is the time to sprinkle some on..

7. Let it rest for 45-60 minutes until a crust forms.

8. Pre heat your oven 150 degrees celcius after 20 minutes into the "resting" time. (If in doubt, invest in an oven thermometer - i bought a Tala one from Robert Dyas for gbp5.99).

9. Touch shells lightly with your finger after letting it rest for approximately 45 minutes, a crust should have formed and the shells are no longer sticky to touch.

10. Pop in oven for around 21-22 minutes.

11. Once ready, remove from oven and lightly touch the tops of the macarons, it shouldnt wobble on its feet.


12. Pop the next tray in, and make sure the oven is still at 150 degrees celcius.

13. Once they are cool, peel the parchment paper off the macarons slowly.


14. Match tops and bottoms together (by size)


15. Pipe the filling* right in the middle, and sandwich the tops and bottoms together.


   * For the filling, i used the standard buttercream recipe, but substituted the water with lychee juice and
       the vanilla essence with rose essence.

16. Pack into air tight containers and put into the fridge for 24 hours.

17. Before eating, let it defrost and dig in once at room temperature. mmmmm


Ta dah...my lychee and rose macarons..

Sunday 14 August 2011

Macarons part 4 - Hello Kitty Macarons

I had the whole sunday just to laze around, so i decided i would make the mini apple pies in the morning and macarons in the afternoon. Big plans for a sunday!! Phew..

Today- i decided to make some hello kitty macarons after seeing them on http://i-heart-baking.blogspot.com/2011/06/hello-kitty-macarons.html. I used to love anything and everything hello kitty when i was younger. My parents still remember me going crazy when we went to a shop selling hello kitty stuff in Tokyo..

Am aware that in my previous posts about macarons, i never detailed the ingredients or method, so here it is below.

First to make the macaron shells; i used:

125g ground almonds
107.5g egg whites
75g castor sugar
175g icing sugar

1. Sift the icing sugar
 2. Next, sift the ground almonds (check out the cool jar i bought!)


2. Beat just the egg whites in a bowl with an electric whisk


 It should become frothy and white..like this


3. Once peaks start forming, add in castor sugar
4. Continue beating till stiff peaks form


 5. To test if ready, you should be able to hold the bowl over your head (obviously, nothing should drop out!)


6. Next, add in the sifted ground almond and icing sugar

and start folding..


 Until you get a smooth consistency


Also, you should have a texture like lava..see below (And another tip that i learnt from macaron class, is that if you put your finger to touch the mixture, it should quickly dissolve back into the mixture..then you know its ready.


Get your nozzles and couplers out (i use 10 and 12 wilton ones) and a piping bag as well

  Assemble the piping instrument
and pipe!

(tip: if you have problem piping round shapes, i suggest pre-drawing circles on the parchment paper to make it easier and obviously your macarons would be quite consistent in size..it works, believe me!)


I felt that my mixture was a bit too grainy and after troubleshooting, i think its because either the ground almonds are too coarse (i.e. several websites recommend popping it together with the icing sugar into a food processor instead of sieving it) or because i didnt fold it enough.
Pop into the pre-heated oven @ 150 degrees for around 18-20 minutes.

The outcome...
There seems to be quite prominent peaks in the middle, despite me tapping the trays hard on the table top after piping. I believe its because the mixture was quite grainy and wasnt as smooth. It did have nice ruffled feet and it rose to good height as well though.

Leave the trays to cool, and once ready, carefully peel the parchment paper off the macaron (not the other way around, as you dont want to crack the macarons). Start matching the macaron halves together according to size, and then fill and sandwich them together. I chose a cream cheese filling as i love it. It is also very simple to make and keeps well.

Recipe of cream cheese frosting (from DC Cupcakes) (makes enough for 24 cupcakes):


1/2 stick (57 grams) of unsalted butter
6 ounces  (170grams) cream cheese
4 cups of sifted icing sugar
¼ tsp vanilla essence

1.    1. Put butter and cream cheese into mixer and beat until light and creamy
2.    2. Cream on medium high speed (about 1 minute) until light and creamy
3.    3. Add icing sugar 1 cup at a time, mix cup by cup until incorporated.
4.    4. Scrape down bowl before adding last cup to ensure all sugar mixed in
5.    5. Add ¼ tsp vanilla essence
6.    6. Whip on high speed (about 1-2 minutes) till light and fluffy


 I used edible pens to draw the eyes, nose and whiskers..


Practice practice practice! I personally think it would have looked quite nice if the tops were smooth though! However, it tasted really good. Will not give up..stay tuned for my second attempt.

Mini apple pies

Must be the season for apples! My dad brought back 6 huge cooking apples from his visit to his old schoolmate's house. Before i even managed to figure out what to do with it, we went to my sister's and her apple tree was blooming with apples as well! (havent figured out what to do with those yet!)


I scouted round the internet and decided to make mini apple pies, as they were easier to distribute to my colleagues tomorrow and just cause they looked so cute!

I used the recipe from http://www.food.com/recipe/mini-apple-pies-so-easy-not-much-hassle-286704.

Firstly start by preparing the filling. Peel the skins off the apples, core them and cut them into small pieces.


Next, add in cinnamon, plain flour and sugar

  And mix thoroughly..


As for the crust, measure the flour, butter and salt and start the food processor


The dough should start looking like this..


Remove and knead it once it looks like this..
 My dough was abit flaky, hence i put it in the fridge for about 30 minutes just for it to firm up. Roll out on a lightly dusted flour surface.

 Start by using cookie cutters to cut large circles, i used a 3

Place the mini apple pie base into the muffin tins

Once ready, fill up with apple filling.


Cut thin, long strips of pastry to create a lattice effect over the pies.


Place a small piece of butter on top of each pie


and bake at 220 degrees for 16-18 minutes

Result..


Ready to serve..