Search This Blog

Sunday, 7 August 2011

Lake District - Day 3

Woke up to rain...oh no! we were planning on taking the "Cruise and walk" which is one of the most popular walks http://www.windermere-lakecruises.co.uk/daysoutdetails.php?id=8.

We started off with the breakfast and walked to the Ambleside pier (which was around 10 minutes walk from our hotel) where we caught our boat to Wray castle..and thats when the walking/hiking began...It was a much longer route compared to the one we did before and it was definitely more scenic as well as there were parts we were actually walking round the lake. However, as it was a really overcast day, it did start raining midway. Ugh! Luckily my friends who are seasoned hikers brought along a spare plastic raincoat which kept me dry although i looked like a giant jellyfish!

After the walk, we got abit lost looking for the ferry..(yes despite the clearly marked signboards)

Anyway, we had sandwiches for lunch at a nearby bistro and headed back to Ambleside. On the way back the sun came out! yay..

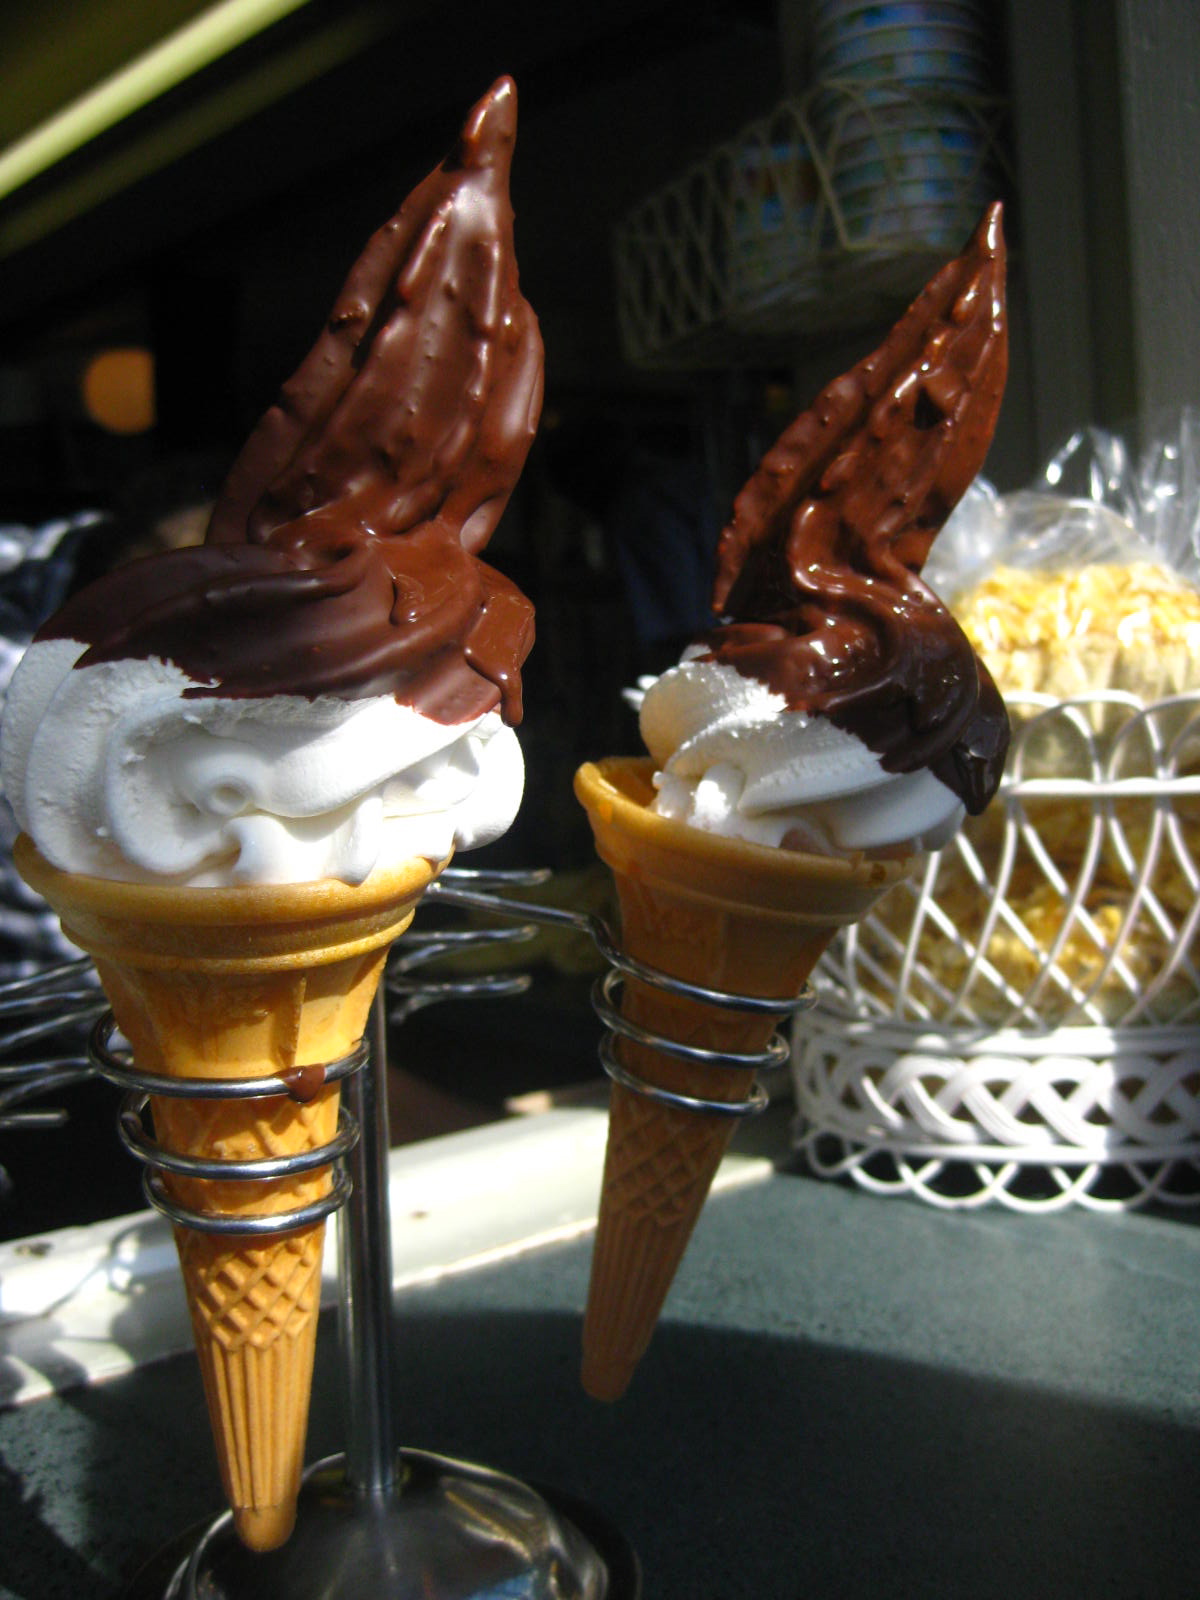
Upon arriving we spotted this


Hmm...what to have ..what to have?


2 Choc dips and 2 mint chocs please....


Mmmm...

Friday, 5 August 2011

Oreo chocolate cupcakes

Its my husbands' birthday tomorrow and i wanted to bake him something he liked! He loves chocolate..so decided to make...


Oreo chocolate cupcakes ..


I found this recipe from http://www.bakerella.com/

For the cupcakes:
1 1/2 cups of plain flour
1/2 cup natural unsweetened cocoa
1 1/4 cup castor sugar
3/4 tsp baking soda
1/2 tsp baking powder
1/2 tsp salt
2 eggs
1/2 cup vegetable oil
1 tsp vanilla
3/4 cup milk
3/4 cup hot water
Some oreo cookies

First, preheat the oven to 180 degrees.
Then start by lining the cupcake tin with 12 cupcake liners.  Break some oreo cookies into small pieces and place into cupcake liners.


Then, start measuring out the ingredients and add into a big mixing bowl.

Plain Flour
Then the unsweetened cocoa powder

Then the baking powder, baking soda, salt and caster sugar..


Start mixing all the dry ingredients together with a wire whisk. Mix well.


Start adding in the eggs, vanilla essence, milk and vegetable oil.


Continue to mix until well incorporated


Then add the hot water, and mix well. The mixture should be quite liquid.


Use a ladle to pour into cupcakes liners.


This is what it looks like once baked.


 Now for the frosting..i have used buttercream icing

Buttercream recipe:
170g slightly salted butter
340g icing sugar
2 tbsp water
1 tbsp vanilla essence

First measure the butter..

 Then add the icing sugar


Then using an electric mixer, whip till light and fluffy

The buttercream that is ready for icing should look like this.


I am going to use my large tip nozzle (See how much bigger it is compared to my usual nozzle i use for piping macarons)


I am also using my Wilton large tip coupler for the first time..


All ready to be iced


Iced with buttercream icing


 Time to decorate with my alphabet set and fondant icing


Any idea on what i am creating??


I coloured white fondant icing with caramel colouring


Note the green non-stick board in the photos.. It was quite expensive gbp29.99 but the fact that i dont have to use corn flour/icing sugar when rolling out my dough/pastry/icing really pushed me to buy it! After using it for the first time today, i have to say it was definitely a good move to get it! 

Cupcakes with a half an oreo as topping..


Happy birthday...Muacks!!

Up close...

This recipe is so simple and delicious! Will definitely be making this again..

Thursday, 4 August 2011

Rock cakes

Rock cakes - What on earth??

I have never heard of this until my boss started talking about it a few weeks ago. I do regularly bring in cakes, cupcakes, macarons that i bake into the office, so my boss was hinting that i should try baking some rock cakes as he loves them and havent had them in ages.

As i didnt know what they were, he was very helpful and googled it up and then pointed this screen out to me.. yes..subtle alright!


Figuring i will give it a go, i asked him what is the key ingredients were in rock cakes. His answer was any type of "spice" i.e. cinnamon, mixed spice or nutmeg. The recipe above however, didnt have any spices in it, so i continued to search for recipes. Finally, i settled on the recipe from Tana Ramsey http://uktv.co.uk/food/recipe/aid/595376  which uses ground cinnamon which i had at home.


The recipe is very simple. Preheat oven to 180 degrees. After measuring the ingredients, just add everything together in a bowl.


Then use a spatula and mix to combine into a dough


Grease the baking tray with abit of butter. Once combined, use your hands to make 8 moulds


Pop them into the oven for around 12-15 minutes.

Result..


Transfer to cooling rack, and leave to cool.


I felt that the orange zest definitely gave a kick to the rock cakes. Also, verdict from my boss - good first attempt! For next time, try using mixed spice instead plus add a bit more sugar to the recipe.

Indian bento box

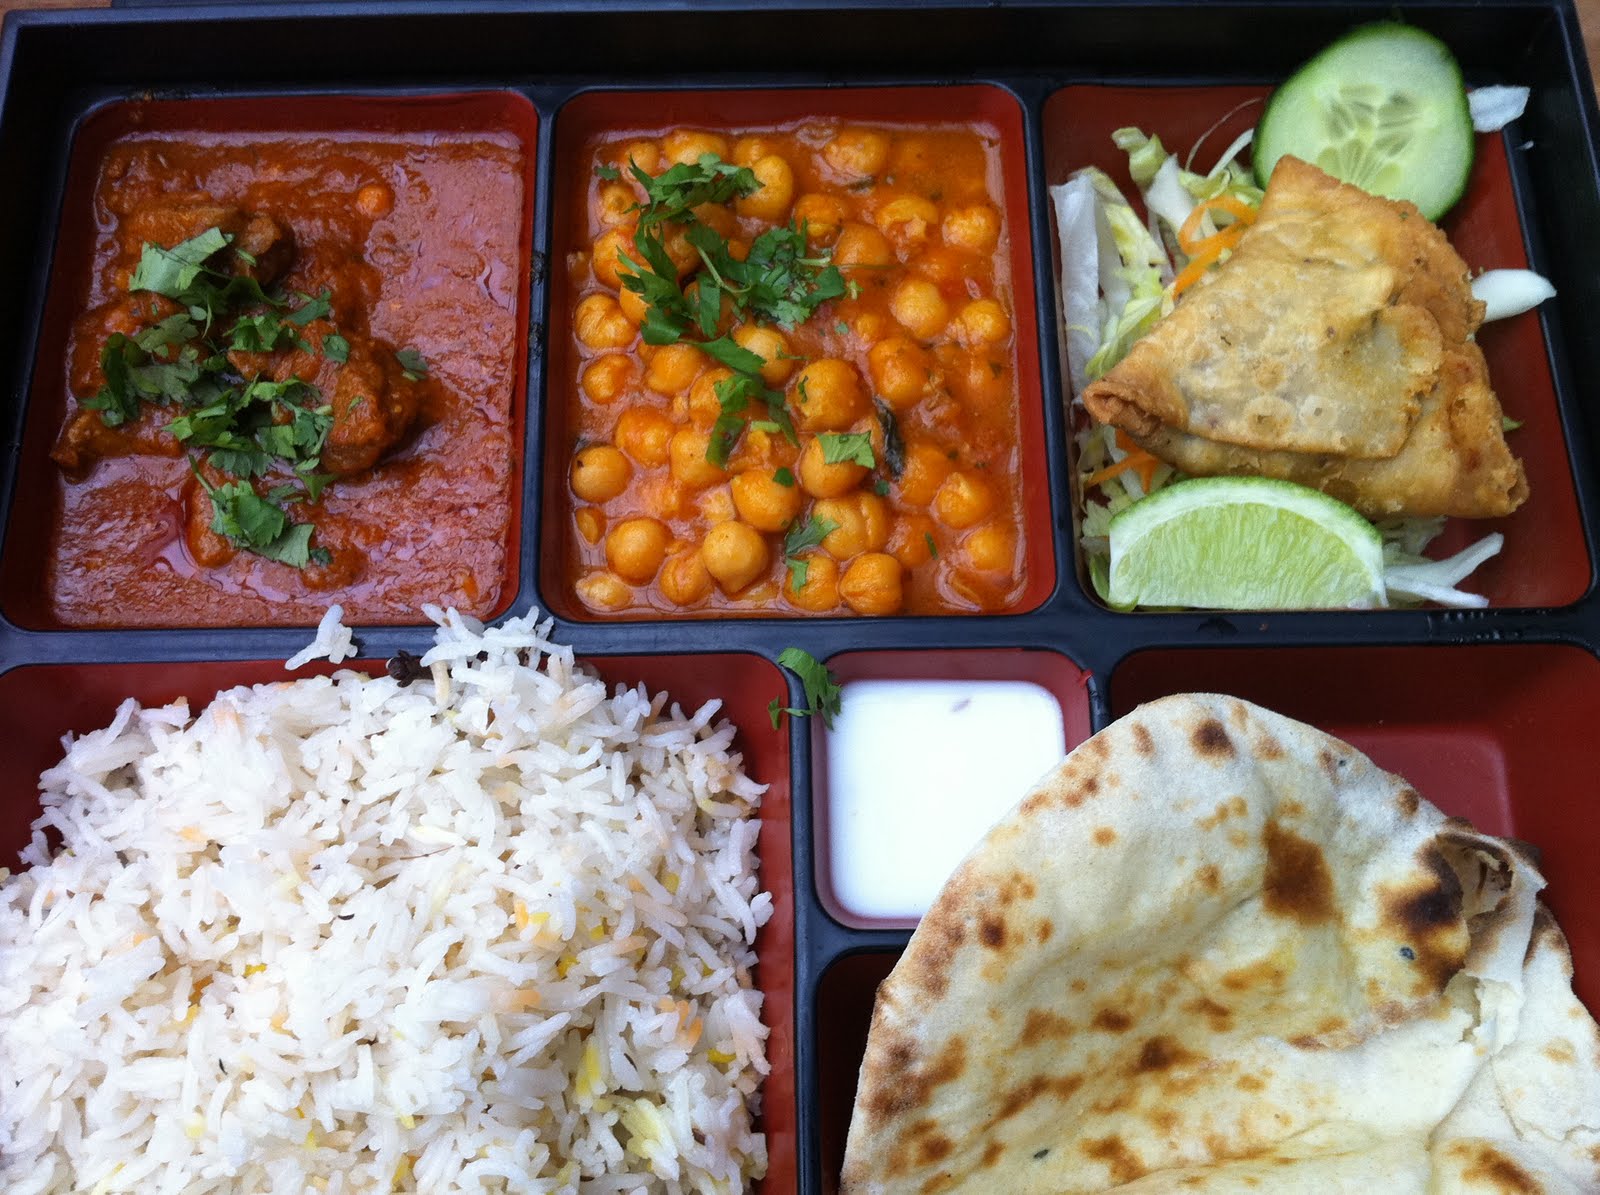
I have always been a fan of indian food....think it runs in my family. We all love spicy food and would jump at the chance to have it any day of the week. My colleague received a flyer from Scarlet @ Spitalsfields market http://www.scarletdot.co.uk so we decided to give it a try.

They have an express lunch menu which was handy given that we had to be back to office in an hour. My colleague was swayed by the photo on the flyer and decided on the Maharaja Thall with chicken. I was initially going to go for the laptop lunch box but after being advised by the waiter that it was quite a small portion, i changed my mind and decided to also go for the Maharaja Thall (mine with lamb) which is a variety platter consisting of a samosa (very nice), chana limbu i.e. chickpeas in spicy sauce (very nice), rogan e nishat (i.e. tender lamb cooked with tomatoes, ginger, herb and aromatic spices) served with naan and pilau rice. Everything was served hot.. Mmmmm...It is priced at gbp9.95 including a drink.


My colleague had the same bento box but had the chicken instead of the lamb. He tried both and said that the lamb was nicer.

Given the portion, i did struggle to keep awake after the hearty lunch though....be warned!

Tuesday, 2 August 2011

Mini cakes

This is THE photo that inspired me to sign myself up for a mini cake class..


I thought this was so cute and at the same time classy! Plus i LOVE buttercream....

After hunting around alot for mini cake classes that looked interesting, was within my budget, was in a convenient location and was held on weekends i narrowed down my selection and i decided to go with cakes4fun http://www.cakes4fun.co.u.

Once again, the class is held on a Sunday from 10am-4pm. Initially, i was abit aprehensive as i thought that the class was abit too long and there goes my Sunday! However, after attending the class, i now realise that every moment is precious! There were 8 of us (which is a full class) with varying experience. I thoroughly enjoyed myself as we were really given the opportunity to do everything on our own including cutting out the cakes to form the mini cake itself and decorating them. We created 5 mini cakes per person. All of us had our own set of baking supplies to use i.e. non stick board, non stick rolling pin, modelling tools, knives, turntable etc. The teacher would demonstrate step by step and we would then be given the opportunity to replicate whilst she went round the room observing.

We used a victoria sponge mix (which is sold at their shop..I bought some!) to make the cake. That combined with the buttercream and the strawberry preserve was really delicious. As we had extras, i brought my portion home and my husband and i had it with tea! yummm..

Unfortunately, i couldnt really stop to take photos during the class as my hands were dirty, and i didnt want to be left behind! So all i have are photos of my creations...

View from the top of all my 5 mini cakes..


View from the side (up close of the flower blossoms..ahh so pretty!)


Close up of the ribbon made out of sugar paste. The ribbon was the hardest to make. First we made the 2 loops and let it dry. If the loops are drooping, pop some kitchen towel into the loops to hold it in position till it hardens and sets. If you are wanting to make ribbons, it is best to make them first and let them harden whilst you work on the rest of the decorations and cake. Once you are ready to decorate the cakes, make the 2 "tails" and an additional loop to go round the middle of the bow. To get it shimmery, paint edible gold shimmer mixed with a bit of rejuvenating spirit, and paint over the bow evenly.


Simple but cute ..

A favourite at weddings..calla lillies


Rossette - this one was just glued onto the cake. The rossettes are sold at their shop.


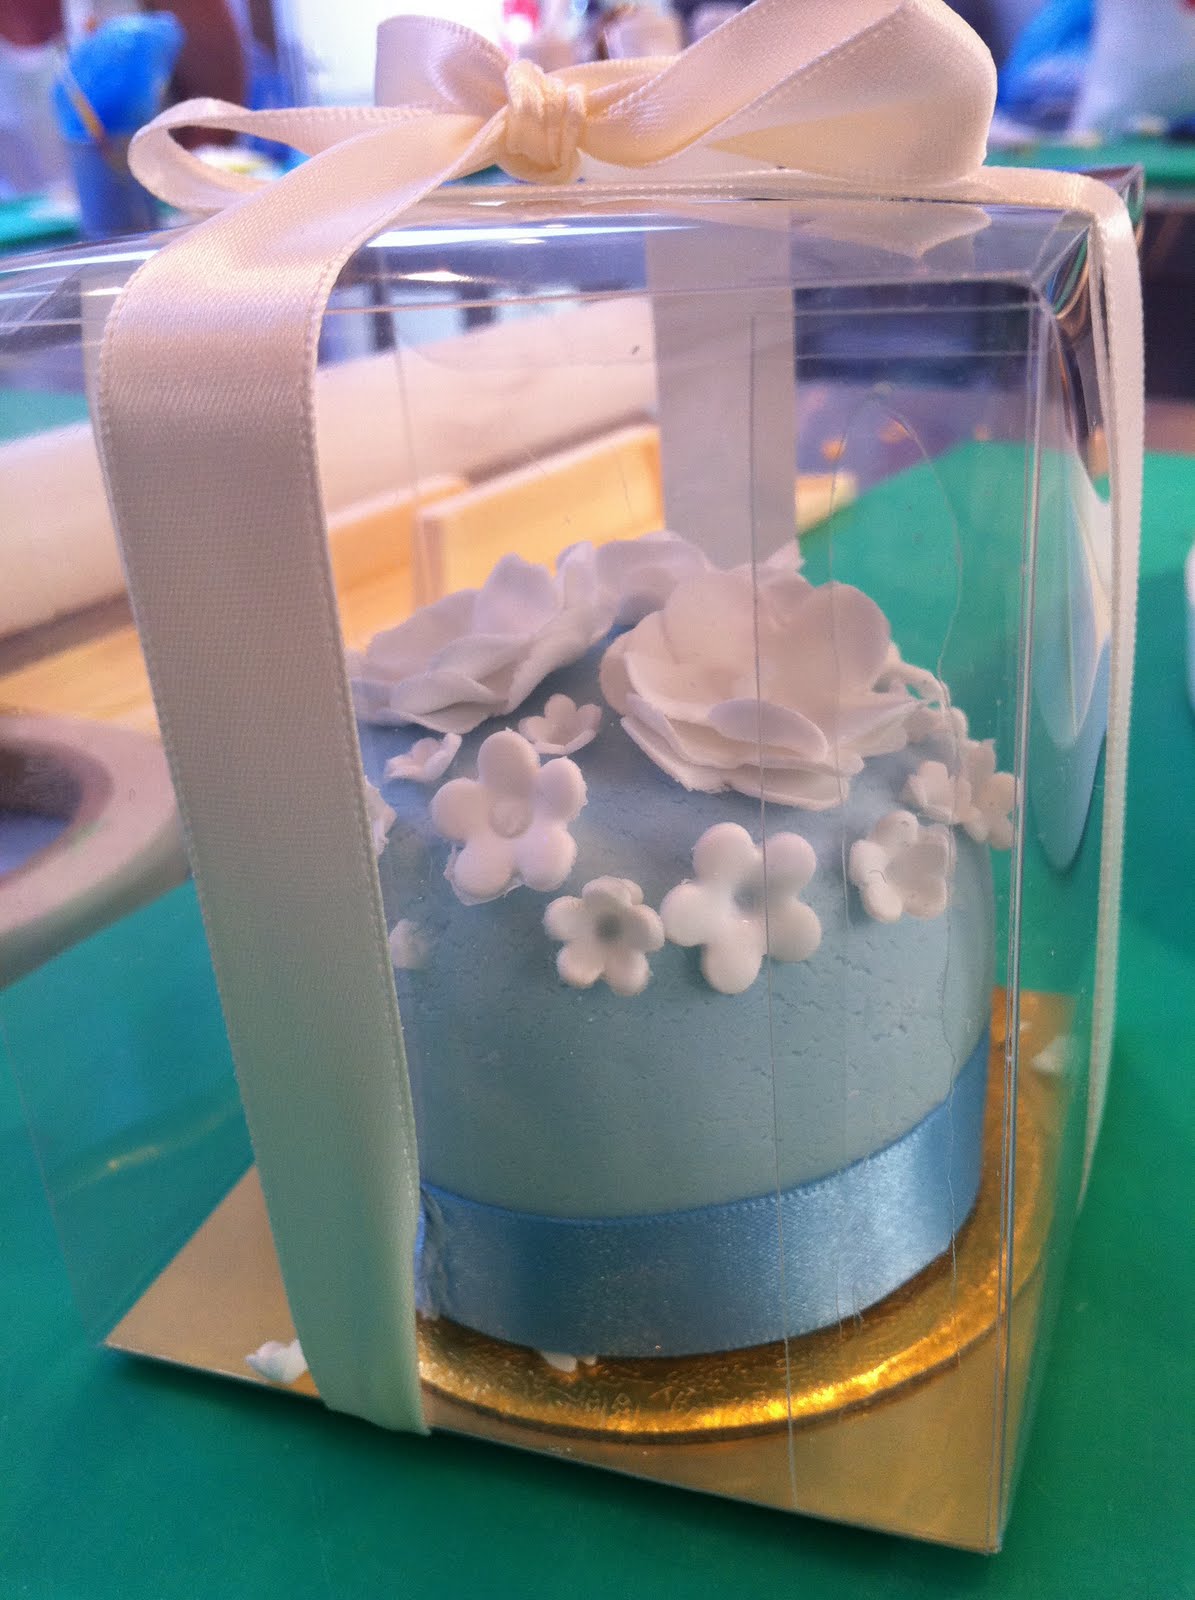
Lastly, we chose one of our favourites to be packaged in a nice box..

My favourite was the blue cake with flower blossoms....


Ahhh what a fruitful day..!