Search This Blog

Friday, 27 May 2011

Macarons part 3 - Pink macarons

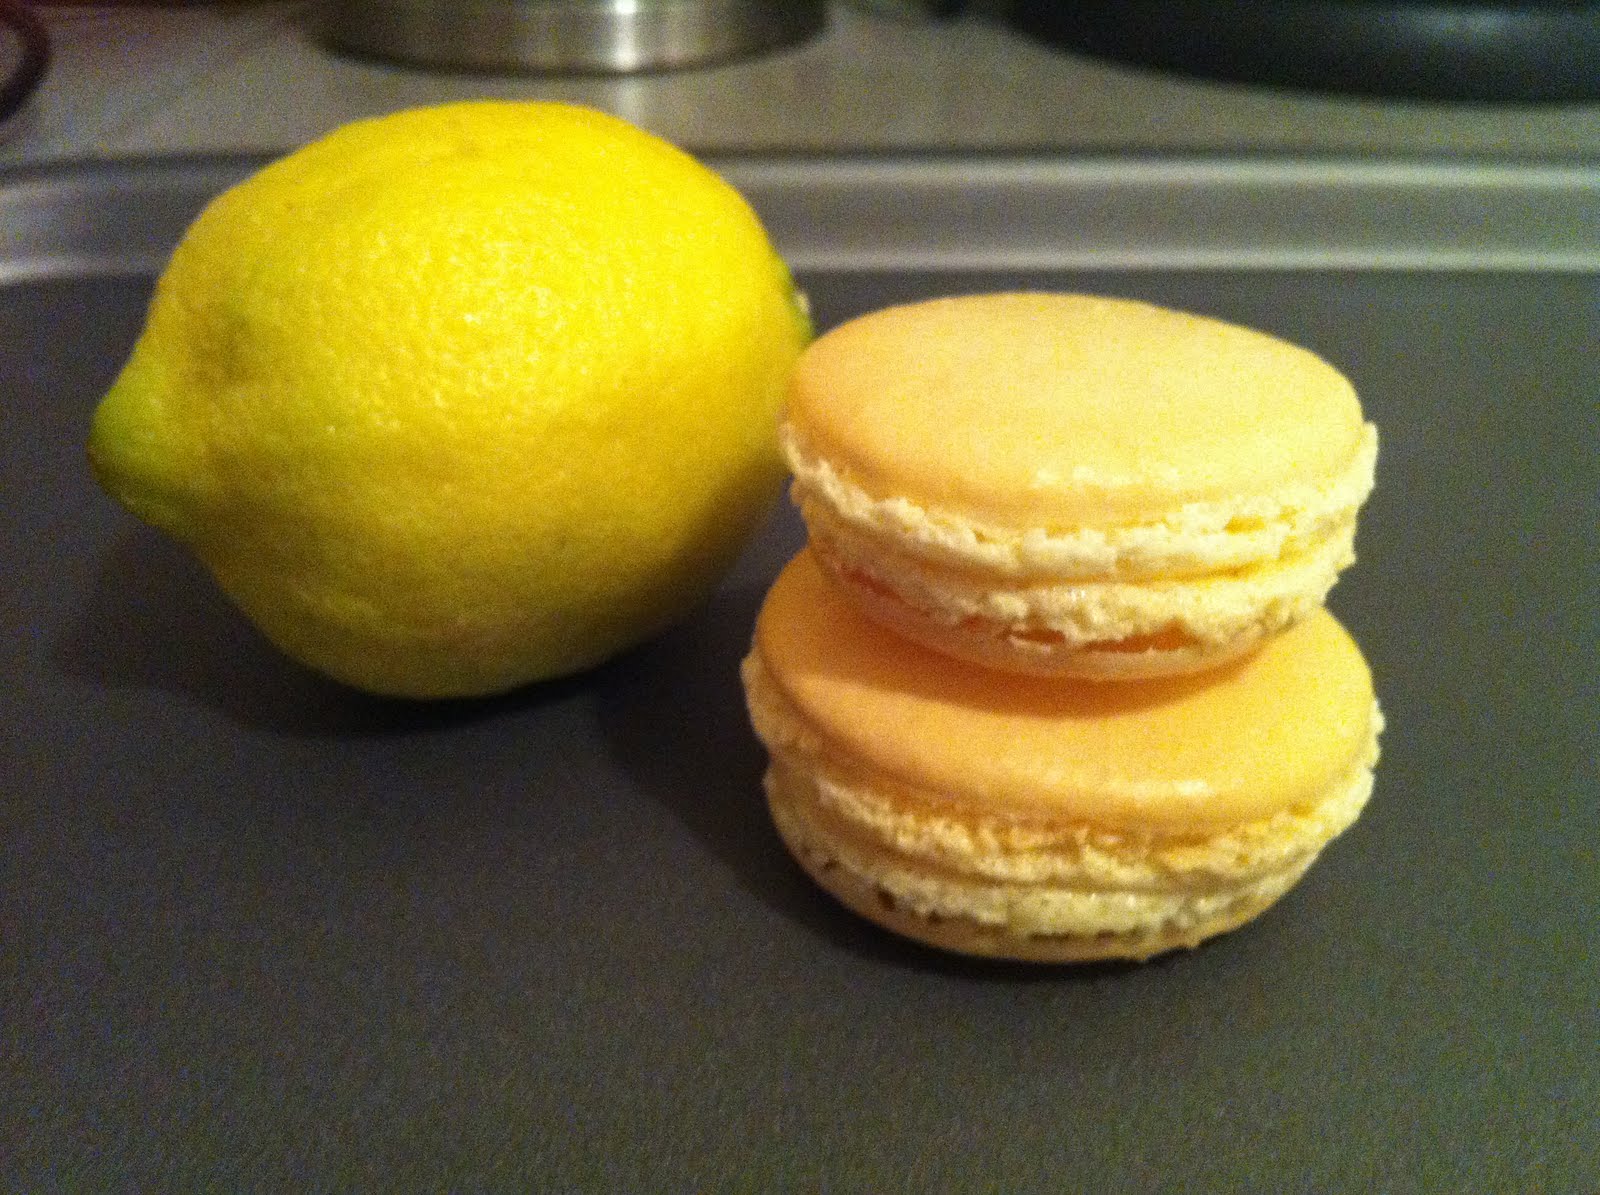
Still on a high from my successful lemon macarons, plus the fact that i was off to the Lake District soon on a short holiday, i decided to bake more macarons as a snack for the journey. I made 2 batches i.e. 1 red and 1 pink.


The results..


Sandwiched with lemon mascarpone filling..


I am sure you must have realised that i havent included any photos of the red macarons. Unfortunately when i removed the red macarons from the oven (which came out perfectly), the greaseproof paper slided off my baking sheet and fell flat onto the table!! SUCH A SHAME!! 
This is when i decided i should either get a silpat or a silicone baking mat for future use..

Monday, 23 May 2011

Macarons part 2

This is my first attempt of making macarons (post macaron class).. There are so many flavours to choose from!! Finally decided to make macarons with lemon curd filling.

In the process.


Ta dah....

Sunday, 22 May 2011

Minnie mouse cupcakes

My younger sister started off by baking some chocolate cupcakes in pretty cupcake cases. It must be the type of paper used for the cases, as they seem to come away from the cake once the cupcakes were baked. They were quite oily as well. Hence the double cupcake cases in the photo.


Time for icing.


Almost too pretty to eat...ALMOST!

Wednesday, 18 May 2011

Cupcakes galore

Had a bit of time on my hands and inspired by DC cupcakes http://www.georgetowncupcake.com/, decided to practice my icing technique i.e. "the swirl" on some cupcakes. I started off by baking some classic vanilla cupcakes and whipped up some buttercream. As i was going to bring the cupcakes to the office, i opted for a neutral colour ie pastel green.


Sprinkle some sprinkles on top..


Place them in a nice tin (my sister gave this to me)


I noticed that my icing didnt go round the entire cupcake though, and its because i used a nozzle that was too small. A bigger nozzle is definitely on my list of things to get next...

Sunday, 15 May 2011

Macarons

I have always and will  always love the look of the macarons either beautifully displayed in shop windows or neatly arranged in boxes. Little did i know, how difficult it was to make them! Ahhh..so pretty! This one i bought from La Maison Du Chocolat http://www.lamaisonduchocolat.co.uk/uk/en/

My first attempt was with my mom who is a seasoned baker. By looking at the recipe, it honestly didnt look that difficult as there were only a few ingredients involved ie ground almonds, caster sugar, icing sugar and egg whites. Easy peasy or so we thought! Our first attempt went horribly wrong as the macarons didnt rise and were crispy on the outside, really flat but still wet on the inside. So back to the internet to find out what we had done wrong. Lots and lots of explanations but what better way then to try again! Round 2 brought about similar results except that the macarons were not as flat. This was the point my mom decided that she actually didnt like macarons at all. I however, decided to enrol for a macaron class. Click click click, and i had booked my macaron class at L'atelier des chefs http://www.atelierdeschefs.co.uk/ (figured the french cooking school sounded promising). 3 weeks to go, i could hardly wait!

Sunday 8.30am in the tube, really sleepy and feeling really sorry for myself having to trudge to Oxford Circus...*yawn*. The sleepiness slowly wears off as i get lost and end up rushing to get there by 8.50am (ie 10 minutes before the class starts). I am the second last to arrive, phew! I have to say i was impressed with the facilities offered especially the shiny red Kitchenaids! We were split up into teams of 4 and were taught to make four types of fillings ie salted caramel, gingerbread cream and caramelised bananas, lemon buttercream and white chocolate and orange marmalade fillings.. yummy! I have to say i felt the class was abit too big, and although we took turns, it would have been better if we could have had our own portions to work on.

This was the results from the class.. ta dah..
Erm, yes they were slightly smashed as i met my husband for dim sum after my class, and only remembered to take a photo once i got home..whoops! Stay tuned for photos from my macaron attempts...

Saturday, 19 March 2011

Baby onesie cookies

I received an invitation to a baby shower organised for one of my friends a few weeks ago..Am really excited as i am still in the "baking" mode. I was planning on making cupcakes with vanilla buttercream topped off with blue booties (as i loved the pink baby booties i made - see 'Baby blocks cake" post). However, i realised the date clashed with another event i already accepted, so i couldnt make it. I decided to make onesie cookies instead as it would be easier for one my other friends to bring it to the party on my behalf.

I used a sugar cookie recipe, rolled out the dough and used my cutters, plonked them onto a tray and into the oven..


Next step, decorating with fondant icing. Initially, i was thinking of trying out the 'flooding' technique using royal icing but as i had to do this after work, i stuck with the easier option. It was really simple. Just roll out the fondant icing to the desired thickness, cut out the shapes with cookie cutters and stuck them onto the cookies with edible glue.


All finished...voila..


Saturday, 12 March 2011

Baby blocks cake

12th March 2011... How time flies.. It seemed like only yesterday my whole family was gathered in my sister's living room anxiously waiting for the arrival of my sisters' baby. In a blink of an eye, my niece is now 1 month old. In line with chinese tradition, we decided to throw a full moon party to celebrate. Honestly, it was more like to celebrate the fact that my sister could finally have something that didnt revolve around sesame oil or ginger i.e. the main ingredients in confinement food. Hooray!

I wanted to make something special but decided to keep it a surprise as in the event it didnt turn out well,  i would the need to go buy one! After days of searching on the internet, i decided on making a baby block cake. I had to plan my time well as we needed to be at my sisters' for lunchtime on saturday which basically meant i had to get everything ready by friday night. Looking back, i have to say i was probably too adventurous!!

Friday 6.30pm - popped the ready made cake mix (Cadbury chocolate) and popped that into the oven. That would be the main cake. For the baby blocks, i decided to buy chocolate brownies (from M&S) that i could wrap easily with fondant icing plus i didnt have time to bake anything from scratch..


And so the process begins..


 I have to say though, now i know that this is NOT the right way to wrap the blocks!! Obviously i didnt realise it at the time and it did get the job done.. the right way would be to drape the icing sheet over the brownie and let it flop over, smooth it with your the cup of your hands gently and then with 2 cake smoothers to provide the professional finish. Cut off excess with a small palette knife and wrap under the block. Smooth as flat as possible. The completed blocks with letterings.


From the photo, you can see bits of brown as i should have used some buttercream or equivalent before wrapping the fondant icing round the brownies. Either that, or dont roll out the fondant too thin..Oh well, at least i know that now!

Next...time to make the baby booties and the baby onesies to go on top of the cake! i got the inspiration to create baby booties from www.notquitenigella.com

Step 1: Roll out fondant icing, and make small balls in 2 sizes (each bootie will need 1 big ball and 1 small ball)


Step 2: Take a set (1 big ball and 1 small ball) and flatten them slightly till the shape resembles a small baby shoe.
Step 3: Place the small bit on top of the bigger bit and flatten slightly again.
Step 4: Using a chopstick end, gently ease into the top to create a round indent.
Step 5: Use a toothpick, to then go round the edge creating lines.
Step 6: Use toothpick, and prick round the bottom to create a pattern to the shoe.
Step 7: Finish off by placing either a star or a heart in the middle of the shoe.


For the baby onesies, i just used the cutter i bought online and cut them out from a piece of rolled out fondant icing. I spent ages trying to track down the onesie cutter!! Finally found one on the internet!


A sample of a few of the blocks in the making.....


Next, wrapping up the cake with royal icing (ready made to roll icing bought from Sainsbury).


Similar to the directions on wrapping the baby blocks on top, use a rolling pin to drape the slab of icing over the cake. Smooth out with the cup of your hands, and use cake smoothers to get a smooth finish. Use one of the cake smoothers, to go round the cake at a 90 degree angle, to mark where the excess should be removed. Cut off excess with small palette knife, and smooth out with cake smoothers.

To cover up the blemishes on the cake, i made a giant ribbon to drape over the cake.


Lastly, assembling the cakes!


I added on the baby onesies at the end, as i felt the cake was still not quite complete! 10pm - Finished and time for dinner!

And on display the next day.. with the gold bangles that my sister wore when she was that age!


It was a good afternoon, check out the spread! mmmmmm


I have to say it was a fun but very tiring process...Glad everyone liked it!